How to Make Cherry Jelly
- Marie Overton

- Sep 10, 2021
- 2 min read
Updated: Jul 9, 2025
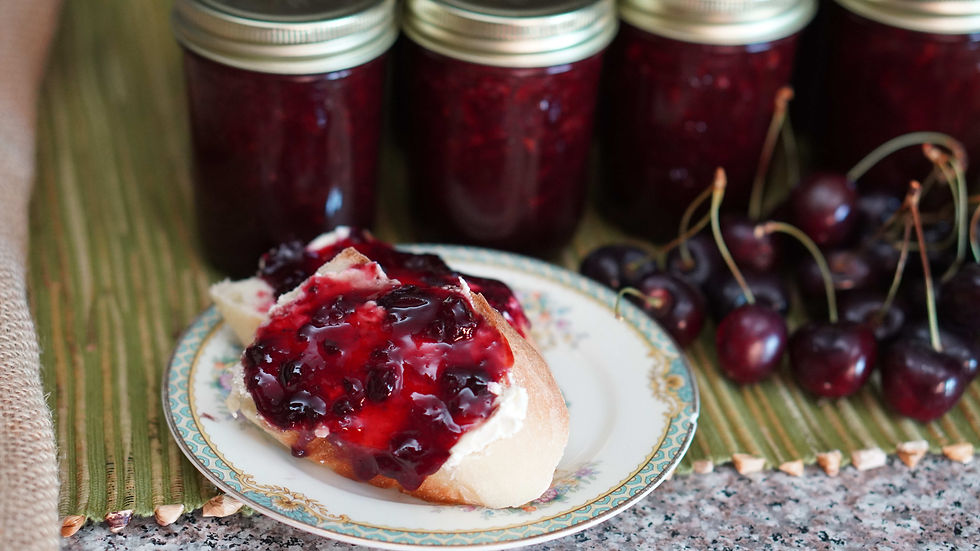
Living in Washington State I have access to an abundance of cherries. One of the lovely items I like to make from this fabulous fruit is cherry jelly. I really like to make cherry jelly in the winter because all it takes is cherry juice. So I juice the cherries in the summer and make cherry butter out of the pulp and save the juice to make cherry jelly during the winter months when my time is not quite so busy. It has a beautiful jewel-type quality to it that makes it a wonderful gift to give with a loaf of bread or a fabulous treat to add to your toast in the morning.
Preparation
Start by preparing your boiling water bath canner with enough water to cover 8 half-pint jars with 1-2 inches of water. Place the water bath canner on the stove on medium heat. Next, preheat your jars.
How to Make Cherry Jelly:

If you want to reduce foaming add 1/2 teaspoon of butter.
Bring the mixture to a full rolling boil on medium-high heat. Stir constantly.

Add 7 cups of sugar and bring back to a full boil for 1 minute.

Using a jar funnel, pour or ladle the jelly into clean, hot, half-pint-sized jars leaving ¼ inch headspace.

After filling your jars, wipe the rims with a clean cloth and secure the lids until finger tip tight. (For quality, American made Superb canning lids and jars follow this link and use the coupon code WP20 to get 20% off your purchase.)
Process in the boiling water bath canner. Process for 10 minutes if at sea level. (Adjust the processing time if you are above 1000 feet.)
After processing, allow to cool in the water bath with the heat off and the lid removed for 5 minutes.

Place the jars on a heat-resistant surface about 1-2 inches apart so they can cool a little faster. Allow them to sit undisturbed for 24 hours so that they can get a nice seal. you know they are sealed if the little "button" in the center of the lid is depressed down. If not, place any unsealed jars in the refrigerator and use them right away.

Place the sealed jars in a cool, dry, dark area and use them within the next 3 years. After that, the nutritional value begins to decrease.
If you have any questions about how to use a boiling water canner take a look at my canning basics videos.


Comments