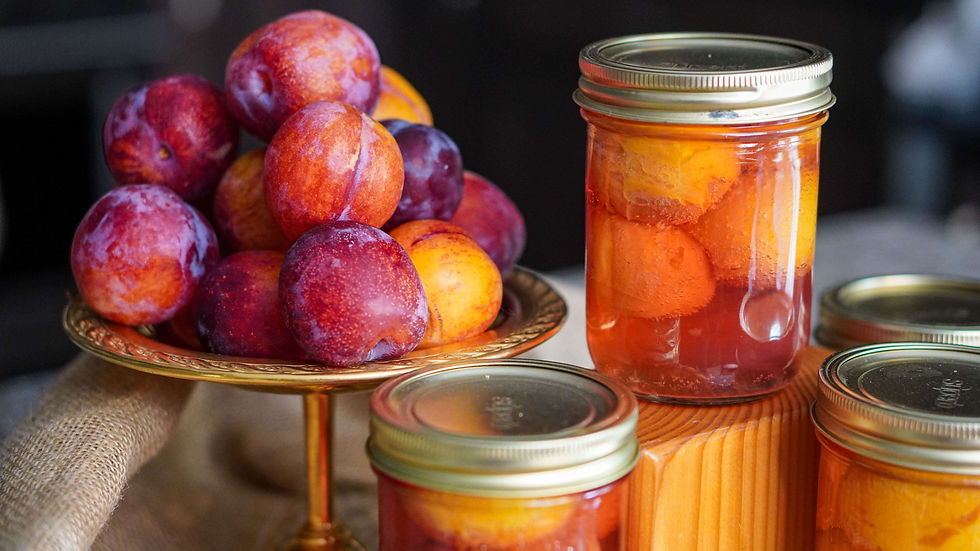
12 Common Reasons Your Canning Jars Fail to Seal and Simple Fixes
- Marie Overton

- Apr 17
- 4 min read
Canning is a rewarding way to preserve fresh foods, but nothing is more frustrating than discovering your jars didn’t seal properly. When jars fail to seal, the food inside can spoil quickly, wasting your time and effort. Understanding why jars don’t seal and how to fix these issues can save your harvest and improve your canning success. I cover 12 common reasons canning jars fail to seal and offer practical solutions to help you get a perfect seal every time.
1. Dirty Jar Rims

The rim of the jar must be clean and free of food residue or grease. Even small bits of food can prevent the lid from sealing properly.
Fix: Before filling, wipe the jar rim with a clean, damp cloth or paper towel. After filling, check again to ensure no food is stuck on the rim. (If canning items that have oils in them it is a good idea to wipe the rim with vinegar to cut through the oils.)
2. Incorrect Jar Type
Not all jars are suitable for canning. Using jars not designed for heat processing can cause seal failure or breakage.
Fix: Use jars specifically made for canning, such as Mason jars. Avoid using repurposed jars not intended for canning.
3. Chipped or cracked Jar rims
Jars that have chips, cracks, or worn threads can cause sealing problems.
Fix: Inspect jars carefully before use. Discard any with chips or cracks, especially around the rim or threads.
4. cheap, old or Damaged Lids

Canning lids are designed for one-time use. Reusing lids or using damaged lids can cause sealing failure. The cheaper brands tend to have higher fail rates as well.

Fix: Always use new lids for each canning session. There are reusuable lids that are specifically designed to be used multiple times if that is your preference. Inspect lids for dents, rust, or warping before use and discard any damaged ones. Using good brands like Superb will help increase the number of jars that seal well and stay sealed. (For quality, American made Superb canning lids and jars follow this link and use the coupon code WP20 to get 20% off your purchase.)
5. Boiling the lids
The old lids used to require that you boil them to soften the sealing compound but the material used now is different,
Fix: Use clean lids without boiling them.
6. Improper Headspace

Headspace is the gap between the food and the jar rim. Too little or too much headspace can prevent a proper seal.
Fix: Follow recipe guidelines for headspace carefully. Typically, 1/4 to 1 inch is recommended depending on the food type.
7. Over-tightening or Under-tightening Bands

The metal band holds the lid in place during processing but should not be too tight or too loose.
Fix: Screw the band on until it is fingertip tight. Over-tightening can prevent air from escaping during processing, while under-tightening can cause the lid to shift.
Checking the seal too soon
The jars need 12-24 hours to form a good seal. If you check before then you might think it hasn't sealed when it really just hasn't has enough time. Sometimes when you check it too early you can actually disrupt the seal making it so that it doesn't seal when it would have.
Fix: Allow the jars to rest undisturbed for 24 hours before checking on them..
9. Improper time or pressure
If jars are not processed for the full recommended time or pressure, the vacuum seal may not form properly.
Fix: Follow the processing times and pressures exactly as stated in trusted canning recipes. Use a reliable timer and adjust for altitude if necessary. (Adjust the processing time if you are above 1000 feet.)


10. Not Using the right amount of water

When water bath canning, the water level should be 1-2 inches above the top of the jars. When pressure canning, the water should be 2-3 inches up the jars, which is usually about 3 quarts of water. For directions specific to your canner look up your manufacturer's instructions.
Fix: Always adjust the water to the right level for each batch.
11. Improper exhaust time
When pressure canning, it is important to exhaust steam for 10 minutes before placing on the weight to create the vacuum needed in the canner.
Fix: When the vent begins to steam, set the timer for 10 minutes.
12. Cooling Jars
Rapid cooling can cause the jar lids to pop off or fail to seal.
Fix: Let jars cool for 5 minutes in a water bath and 10 minutes in a pressure canner before removing them. Avoid placing them near open windows, fans, or cold surfaces.
Even if the jars have a good seal storing them in a place that is too warm, humid, or exposed to sunlight can weaken seals over time.
What do I do if my jars fail to seal?

If you check them at 24 hours and they didn't seal, you can reheat, rejar and recan the food. Often this will impact the taste and texture of the preserved food so it is best to use these items first. I like to label any that has been recanned so I know which ones they were.
Alternatively, you can remove a 1/2 inch of the food from the jar and freeze them. It is important to remove some of the food to make room for expansion when frozen. These should be good for 6-12 months.
My most common choice is to refrigerate the unsealed jars and use them within the next 1-3 weeks.


Comments