Mastering the Art of Feeding and Caring for Your Sourdough Starter
- Marie Overton

- Feb 9
- 3 min read
Starting and maintaining a sourdough starter can feel like a science experiment at first. Yet, over time, it becomes more like a favored pet. It has the benefit of creating the unique flavors and textures of homemade sourdough bread. Feeding and caring for your starter is the key to keeping it active and healthy. This post breaks down the essential steps and tips to help you master this process with confidence.
To learn how to make your own starter click here.
Understanding Your Sourdough Starter
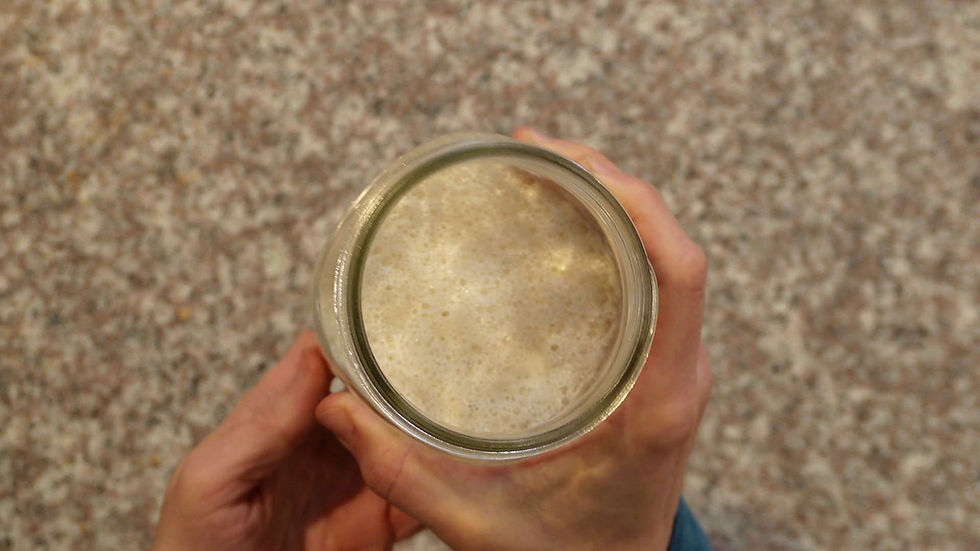
A sourdough starter is a living culture of wild yeast and beneficial bacteria. These microorganisms ferment flour and water, producing the natural leavening and tangy flavor that define sourdough bread. Because it is alive, your starter needs regular feeding to stay strong and ready for baking.
The starter’s health depends on:
Fresh flour and water
Consistent feeding schedule
Proper temperature
Clean environment
Knowing these basics helps you avoid common problems like sluggish rising or off smells.
How to Feed Your Sourdough Starter
Feeding means adding fresh flour and water to the starter to provide new food for the yeast and bacteria. Here’s a simple feeding routine:

Add fresh flour and water
Use equal measures of flour and water that measure half your current starter. For example, if you have 1 cup of starter add 1/2 cup of non-chlorinated water and 1/2 cup of flour. Stir thoroughly to combine.
Use the right flour
Unbleached all-purpose flour works well, but whole wheat or rye flour can boost activity because they contain more nutrients. If you do decide to switch flours it may be a little sluggish until it gets used to it.

Mix well and cover loosely
Stir with a wooden chopstick to incorporate air, then cover the jar with a breathable lid or cloth to allow gases to escape. Place it on a high shelf to grow.
When to Feed Your Starter
Timing depends on how often you bake and the temperature of your kitchen:
Daily feeding is best if you keep your starter at room temperature (around 70°F or 21°C). This keeps it active and ready to use.
Weekly feeding works if you store your starter in the refrigerator. Bring it to room temperature and feed it before baking.
Watch for signs your starter needs feeding:
It has a pleasant, slightly tangy smell.
It forms a layer of liquid on top (called hooch) when hungry.
If hooch appears, stir it back in, then feed immediately.
Tips for Caring for Your Starter
Keeping your starter healthy requires attention beyond just feeding:

Use clean utensils and containers to avoid contamination. Glass jars work well.
Keep the starter at a stable temperature. Too cold slows fermentation; too warm can cause off flavors.
Adjust feeding amounts based on starter size. If your starter grows large, increase feeding quantities accordingly.
Be patient with new starters. It can take 5 to 7 days for a new starter to develop strong activity.
Avoid metal containers or utensils that can react with the acidic starter.
Troubleshooting Common Issues
Even with care, starters can face challenges. Here are solutions to frequent problems:
Starter smells unpleasant or rotten: This usually means it needs more frequent feeding or a fresh start with new flour and water.
Starter doesn’t rise or bubble: Try feeding more often, using warmer water, or switching to whole grain flour.
Mold appears: Discard the starter and start over. Mold indicates contamination.
Starter is too runny or too thick: Adjust water or flour amounts to reach a thick pancake batter consistency.

Using Your Starter for Baking
Once your starter reliably doubles in size within 4 to 6 hours after feeding, it’s ready for baking. Use a portion of the active starter in your bread dough and continue feeding the rest to keep it alive.
Remember to save some starter after each bake to maintain your culture. Feeding and caring for it regularly ensures you always have a lively starter for your next loaf.


Comments