Canning Pink Beans at home
- Marie Overton

- Nov 15, 2025
- 3 min read
Pink beans are a very versatile bean being used in Caribbean, Mexican-American, and Old West-style dishes. They have a rich, meaty flavor and creamy texture. These characteristics make them well suited for stews, chili, refried beans, and beans and rice. Canning them at home is a much more economical way to have them available for use.
Why Should You Can Pink Beans?
Canning your own pink beans allows you to enjoy their delightful taste all year round. Here are several reasons to consider canning:
Cost-Effective: Store-bought canned beans often cost between $1.50 to $3 per can. By canning your own, you can save significant money—commonly a penny per ounce when buying dried beans in bulk.
Flavor and Freshness: Home-canned beans often taste better than their store-bought counterparts, as you can control the texture and flavor, ensuring they align perfectly with your expectations.
Convenience: The ease of having canned beans ready means quick meal options—ideal for busy weeknights!
Sustainability: Canning means less food waste. With proper storage, your beans can last for years, minimizing reliance on single-use packaging from store-bought products.
Canning Pink Beans: A Step-by-Step Guide
Step 1: Gather Your Supplies
Before starting, make sure you have the following:
Water
Canning jars and lids (quart size)
A jar lifter and clean cloth
Step 2: Prepare the Beans

Rinse the Beans: Begin by rinsing the pink beans under cold water to remove any dirt and impurities.
Soak Them (optional): You can soak your beans overnight in plenty of water.
Drain and Rinse: Drain the beans and give them another rinse to ensure they are clean.
Step 3: Fill the Jars
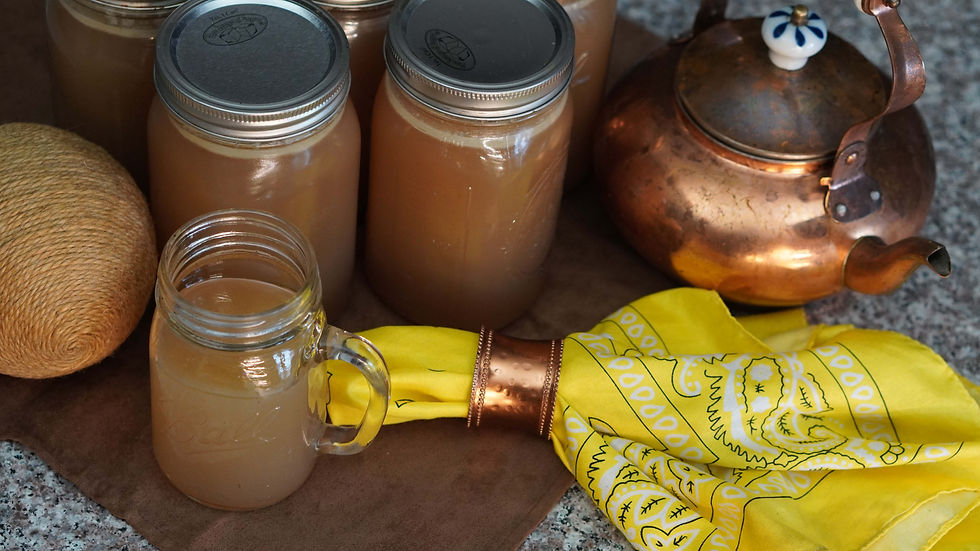
Prepare Your Jars: Make sure your canning jars are clean and hot.

Fill the Jars: Use a funnel to add just shy of 1 cup of dried pink beans to the bottom of each quart jar.

Add 1 teaspoon of salt to each quart jar.

Add Water: Pour hot water into the jars, leaving 1 inch of headspace at the top. This is crucial for a proper seal.
Remove Air Bubbles: Use a chop stick to release any trapped air bubbles.
Seal the Jars: Wipe the rims with a clean cloth and secure the lids until finger tip tight. (For quality, American made Superb canning lids and jars follow this link and use the coupon code WP20 to get 20% off your purchase.)
Step 4: Process the Jars

Load the Canner: Carefully place the jars in your pressure canner.
Process: Follow the manufacturer's instructions to use your canner. Process pink beans at a pressure of 10 pounds for 90 minutes if at sea level. (Don't forget to adjust the time for your elevation if you are above 1000 feet.)

Cooling Down: When the processing time is up, let the canner drop pressure down naturally. After the pressure is at zero, remove the lid and allow it to cool for 10 minutes before removing the jars. Place the jars on a heat resistant surface.

Check the Seals: After 24 hours, make sure the seals are tight by pressing down in the center of each lid. If it pops back, it’s not sealed correctly. If not sealed, place in refrigerator and use in the next few days. If they have a proper seal, remove the ring and wash them with hot soapy water.
Step 5: Store Your Pink Beans
Store your canned pink beans in a cool, dry, dark place. They should last for 1-3 years.

Cooking with Pink Beans
Now that you’ve successfully canned your beans, it's time to enjoy cooking with them!
Pink Bean Recipes to Try
Pink Bean Chili: Start with sautéing some onions and garlic. Add your canned pink beans, diced tomatoes, chili powder, and let it simmer for a filling meal.
Refried Beans: Heat canned pink beans with cumin, onion, garlic and lard and mash them for delicious refried beans. They're perfect for tacos or as a side dish.
Stew: Add your canned beans to any stew for an extra boost of protein and texture.
Burritos: Use pink beans as a filling for burritos, along with rice, cheese, and your favorite vegetables.
Additional Tips for Cooking Pink Beans
Seasoning is Key: Spices can elevate the flavor of beans. Consider using cumin, coriander, and garlic powder.
Experiment: Pink beans are versatile! Use them in various cuisines and innovative dishes.


Comments