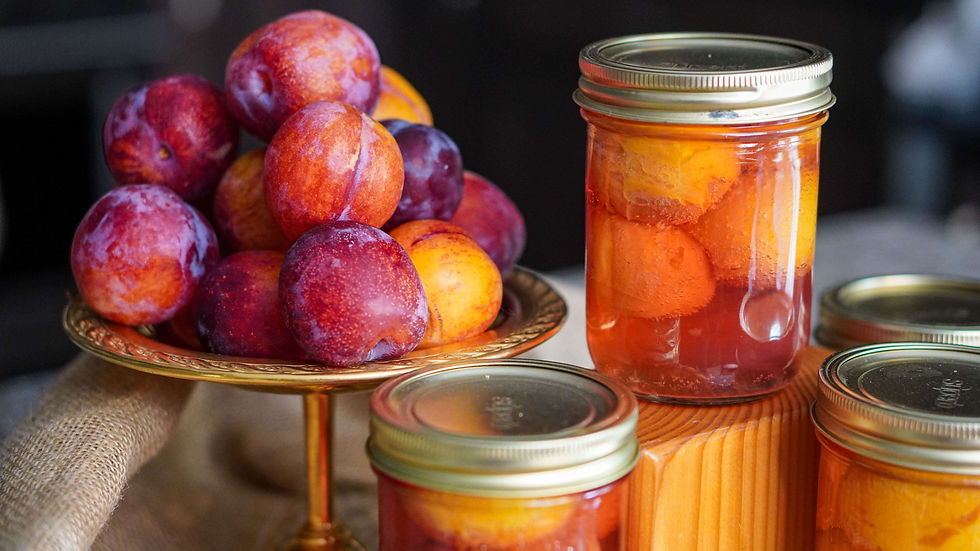
Strawberry Preserves No Pectin
- Marie Overton

- Feb 2, 2022
- 2 min read
Updated: Mar 21, 2025
Homemade Strawberry Preserves made without pectin are a beautiful item to have in your long-term food storage pantry. Preserves are exactly that, a delicious way to preserve berries’ warm-weather flavor. They taste fabulous, are great for gifting, and are so pretty. This recipe is particularly grand because it is not dependent on the use of pectin. I use strawberry preserves as syrup because it is a nice smooth syrup with lovely whole berries. Strawberry Preserves is a great addition to pancakes, waffles, and as a topping for ice cream or even toast.
My strawberry patch is hard to get enough strawberries from because the kids eat them before I can use the crop, but luckily I live in a valley where fruit is plentiful and easy to get.
How to Can Strawberry Preserves
These directions and recipe make 8 half-pint jars.

The first step is to wash and hull 3 pounds of strawberries with a strawberry huller or a paring knife.
Next, I will place them in a large pot and mix the strawberries with 5 cups of sugar. Cover with a lid and set it in a cool place. Allow the fruit to sit with the sugar for 3-4 hours. Add 1/2 teaspoon of butter to reduce foaming. (Optional)

Place the pan on the stove and bring to a boil. Add 1/3 cup of lemon juice and cook it to the gelling point. (220 degrees Fahrenheit at sea level, subtract 2 degrees for every 1000 feet above sea level.) I like to use a digital thermometer for this.
Using a jar funnel, fill your hot jars leaving a 1/4 inch headspace.

Strawberry Preserves Canned
Place the lids on top of the jars and add the rings. Tighten the rings to fingertip tight and process in a boiling water bath canner for 20 minutes if at sea level. Remember to adjust the processing time for your elevation if higher than 1000 feet. Don't start the timer until after it has come to a rapid boil.

Altitude Chart – Water Bath Canning
After the processing time is complete, remove the lid, turn off the heat and allow them to cool for 5 minutes. Then, remove the jars and place them on a heat-resistant surface about 1-2 inches apart so they can cool quickly. Allow them to sit undisturbed for 24 hours before removing the ring and washing the jars with hot soapy water. Then, store them in a cool, dry, dark pantry and use them in the next 1-3 years.
If any didn't seal, place them in the refrigerator and use them in the next 2 weeks. You can tell they are sealed if the center of the lid is depressed down.
If you have any questions about canning with the boiling water canner or how to adjust the pressure for altitude, take a look at our canning basics videos.


Comments