Peach Pie Filling
- Marie Overton

- Jan 17, 2022
- 3 min read
Updated: Aug 28, 2025
Canned Peach Pie Filling is such a fabulous dessert. When I first came up with this recipe I had my family try it. They are never reluctant taste testers. I was amazed at how quickly my pie was eaten. Even my daughter who doesn’t like peaches (I have no idea how that happened) ate two slices. Most of my family loves home-canned peaches but they absolutely adore this combination. If you add French vanilla ice cream on top it becomes truly divine. I have a Make ahead PIE CRUST recipe that when combined with this homemade pie filling makes this mouth-watering dessert so simple.

Peach pie filling
Preparation to Make Peach Pie Filling:
This recipe makes 9 quart of peach pie filling.
Fill your boiling water bath canner until the water will be 1-2 inches above your jars and place it on medium heat to warm up. I want it warm, but I do not want it to boil yet.

Blanch, peel, and pit 28 cups of peaches.

Slice into 1/2 inch wedges. Place in saltwater to prevent browning. I use the same water I used after blanching. If you have questions about blanching peaches take a look at my blanching video.

Bring a pot of water to a boil. While it is beginning to boil, combine in a different pan 7 cup of sugar, 1 1/3 cup of Clear Jel, and 1 teaspoon of cinnamon.

Mix the dry ingredients well. Add 5 1/4 cup cold water and cook until it is thick.

Next, add 1 3/4 cup of lemon juice.
By this point, the water should be boiling and you will want to drain your peach slices.

When your sauce mixture comes to a boil add the peaches to the boiling water and set your timer for 1 minute.

After the timer goes off remove the peaches from the water and gently fold them into your sauce. Continue to cook for 3 minutes.

Remove from heat and add 1 teaspoon of vanilla. If you put this in before you cook it the flavor will cook out of it.
Canning Peach Pie Filling:

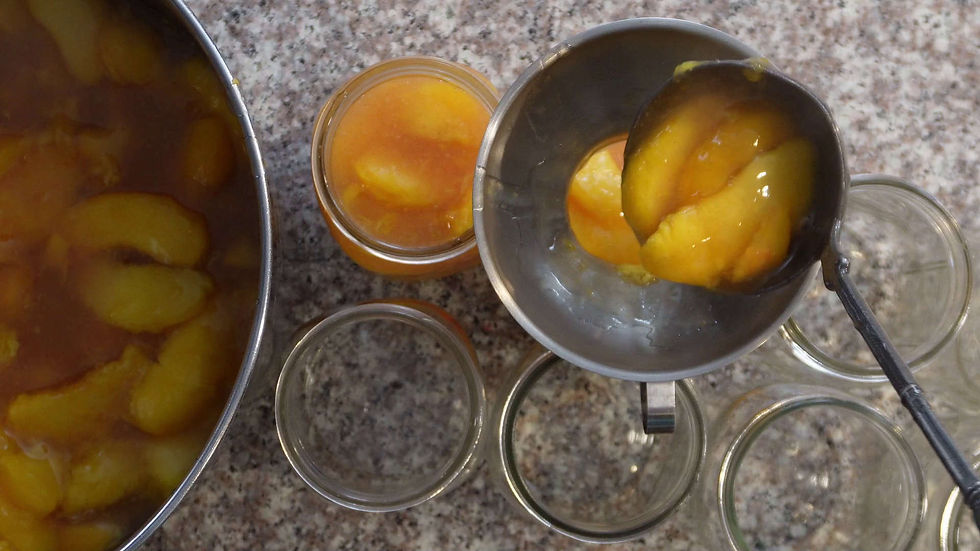
Using a jar funnel, fill your jars leaving 1 1/4 inch of headspace.
Remove any air bubbles. I like to use wooden chopsticks for this.
Wipe off the rim of the jar with a clean damp cloth. Without touching the underside, place the lids on the jars and tighten them until they are fingertip tight.
(For quality, American made Superb canning lids and jars follow this link and use the coupon code WP20 to get 20% off your purchase.)
Place the filled jars into the boiling water bath canner. Make sure the water is 1-2 inches above the top of the jars. Bring the water to a rolling boil then start a timer for 30 minutes if you are at sea level. If you need to know how altitude affects the amount of time you process your jars check out my canning basics video/post.

After processing, allow to cool in the water bath with the heat off and the lid removed for 5 minutes.
At the end of the cooling time, remove the jars from the boiling water bath and place them on a towel on the counter. A towel laid on the counter protects the jar from being burned and from it breaking with the temperature difference against the cool counter. Allow the jars to sit for 24 hours.

After 24 hours, check to be sure that the lids have been sealed down. The lids will suck down if they are properly sealed. If you have any that do not seal, place them in the refrigerator and use them within the next week. Label your jars with the contents and date preserved. Store sealed jars in a clean, cool, dark place.


I loved it!!