How to Build a Portable Kitchen Island on Casters with Storage
- Marie Overton

- May 20, 2022
- 5 min read
Updated: Mar 27, 2025
I love to take items that are on the shortlist to go to the dump and create a new life for them. I feel like not only do I save money and get to use my creativity but I am taking better care of this world we have been given. In this case, we were given a slab of granite to turn into a portable kitchen island on casters with storage.
We happened to have a need for a skinnier kitchen island to fit through our doorways. The one we currently have is actually my desk table and is 1/2 inch too big so we have to take it the full way around the house to position it for videos. The plan was to build a kitchen island on casters so we can easily convert my kitchen into a recording studio. The portable island with storage has become one of my favorite additions to my kitchen. This same concept could be used with many different tops, not just the granite that we were lucky enough to work with.
Materials Needed to Build a Portable Kitchen Island on Casters:
Granite top 50 inches x 26 inches

ripped/treated boards

wood effects
(We used boards we already had on hand and ripped them down to the size of what we needed but you could just buy a similarly sized board. The quantity is listed in parentheses after the length. Below the size of the board is listed what it is used for and it is designated a letter in parentheses that I will use to identify it in the assembly section.)
Ripped out of 4×6 boards on a table saw and treated with wood effects.
3 ½ x 2 ½ inch (actual measurements)
31 inch (6)
vertical posts (a)
Ripped out of 2×4 boards on a table saw and treated with wood effects
2 ¾ x 5/8 inch (actual measurements)
46 inch (4)
horizontal supports for top and bottom (b)
44 ½ inch (2)
horizontal supports for the middle (c)
37 5/8 inch (2)
Front Trim (d)
21 ½ inch (2)
Top, side trim (e)
16 ½ inch (2)
Middle horizontal side support (f)
15 ¼ inch (6)
middle supports / top & bottom side shelf trim(g)
3.5 inch (2)
center post shelf supports (h)
Angled on one side of 5/8 inch portion, measure the smaller side of the angle
4 1/8 inch (4)
front/back top post trim (i)
2 ½ inch (4)
back inside post trim (j)
1 5/8 inch (4)
front inside post trim (k)
Angled on both sides of 5/8 inch portion (both angling out from inside like \_/), measure smaller side
21 ½ inch (2)
Bottom side trim (l)
3 ½ inch (4)
front/back bottom post trim (m)
1 7/8 x 5/8 inch (actual measurements)
15 ¼ inch (2)
middle side shelf (n)

pallets
7/8 inch x Pallet Boards

sand lightly
Use an orbital sander to sand pallet boards lightly but retain the character
30 inch (fill 38 7/8)(16.5)
vertical front and sides (o)
16 ½ inch (fill 38 7/8 x 2)
shelves (p)

pallet boards
3-inch casters
Minwax wood effects charred wood

screws/nails
Trim head scews 1 1/4 inch
Construction Screws 1 1/4 inch
Brad Nails 1 1/4 inch
Tools Needed:

tools
Drill (for pilot holes)

miter saw
Assembly of the Portable Kitchen Island:

place top/bottom rails
Begin by making the sides. I make pilot holes for all of my screws to reduce splitting. Splitting can be more of an issue with reclaimed wood. Use (a) as your corner posts. Place (b) at the top and bottom of the posts and connect using construction screws.

place center post
Flip the side and place a third post (a) under the attached “rails” (b). Make sure it is centered well. I use wood scraps to hold the ends up so it doesn’t wobble. Use the finishing nails to put this piece on since it will be visible.

place center rail
Place (c) centered between the posts. Have it positioned 12 inches from the top. Be sure the gap from the end is the same on each side to leave room for the board that goes there. Connect with finishing screws. Repeat on the other side.

Connect two sides at the bottom
Now it is time to connect the two sides together. Place the two sides up facing each other so the center posts are pushing out toward each other. Place (l) on the bottom sides using a post trim piece to help you position it well for the corner. Attach with finishing screws. Repeat on the other side.

add bottom shelf
Use wood glue and finishing screws to place (g) between the two end posts and next to (l). This creates the bottom shelf.

add middle support
Place (f) in the middle of the sides and connect it to the ends of the (c) boards.

add middle shelf
Use (n) as the middle side shelf, gluing and finishing screwing it between the posts and (f).

add top support
Screw (e) across the top of the sides with finishing screws. Use (g) to make the top shelf “ceiling”. Put it in with finishing screws. Repeat on the other side.

add center supports
Also, use (g) for the center supports of the top. You can use construction screws for this.

add pallet boards
Now that the main box is created it is time to start adding the pallet boards. Working on the front, nail (o) all the way across. Try to make sure the sizes and colors are mixed up. When you get to the last board mark it and cut it on your table saw to fit.

trim the front posts
Place (m) on the front post at the bottom to line up with the side angle and nail it in. Place (k) against the pallet boards and line up its angle with (m) and nail it on as well. Repeat on the other side. Attach (k) to the top of the post against the pallets and place (i) matching up the edges and angles to the front of the post. Repeat on the other side.

Trim the front
Use “d” to trim the top and bottom of the pallet boards.

notch boards
Now move on to the side. We will be placing a layer of pallet boards across the back. The first board placed will need to be notched for the shelves. The last board will need to be both notched and ripped down to size. Repeat on the other side.

add shelf boards
Place (h) on the inside of the center posts at the level of the shelves. I had some pallet boards that were the same size as my posts so I was able to just cut those down to fit on these but if yours are bigger you will need to notch them. The next step would be to fill in the shelves ripping down the end boards to fit. I move all these boards to the front edge for a uniform look before nailing them in.

trim back posts
Attach (j) against the top and bottom inside edges. Then add (i) to the top of the back posts and (m) to the bottom of the back posts.
Go back and touch up all screw/nail areas with the wood effects.

add casters
Attach casters to each corner post. Elevate the base to attach the back casters more easily. Be sure to choose casters that will support the weight that you need.

add construction adhesive
Apply heavy-duty construction adhesive to the top of the box.

add granite countertop
Carefully add the granite top being sure to center it.

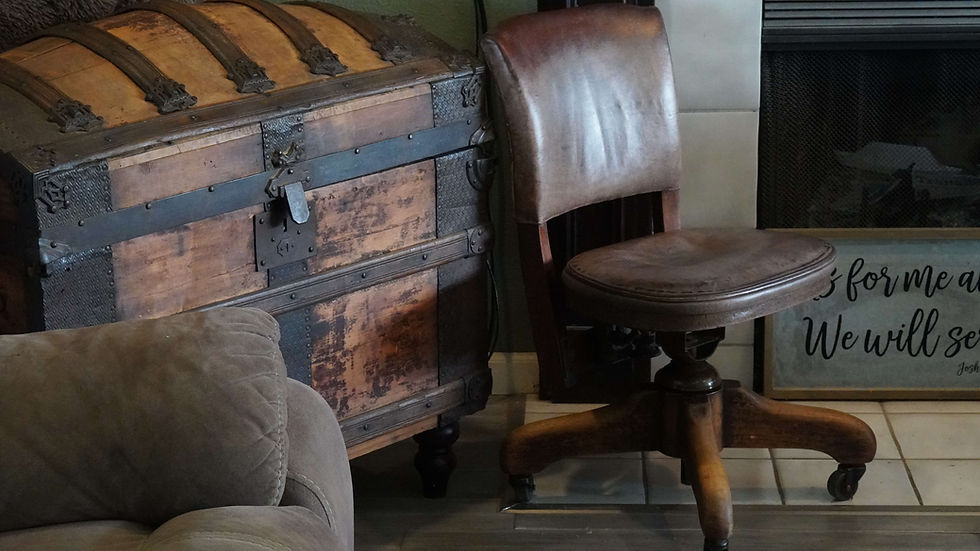
Kitchen Island
Your portable kitchen island is now ready to be moved and used wherever you need it.


Comments